Rclone Google Drive Setup
On this page ▾
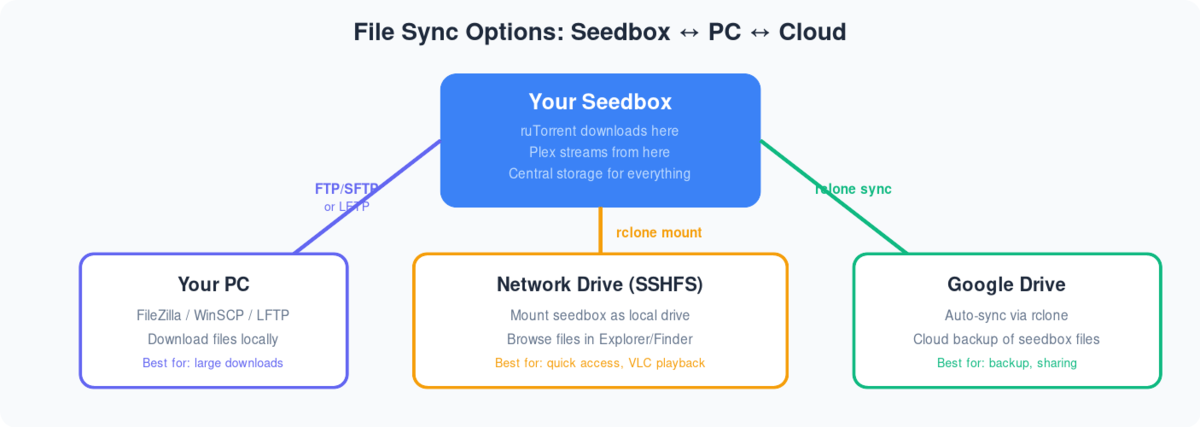
Following are the step-by-step instructions to setup rclonebrowser:
- Instalar rclonebrowser do seu clientarea dashboard
- Visit the rclonebrowser’s URL and login
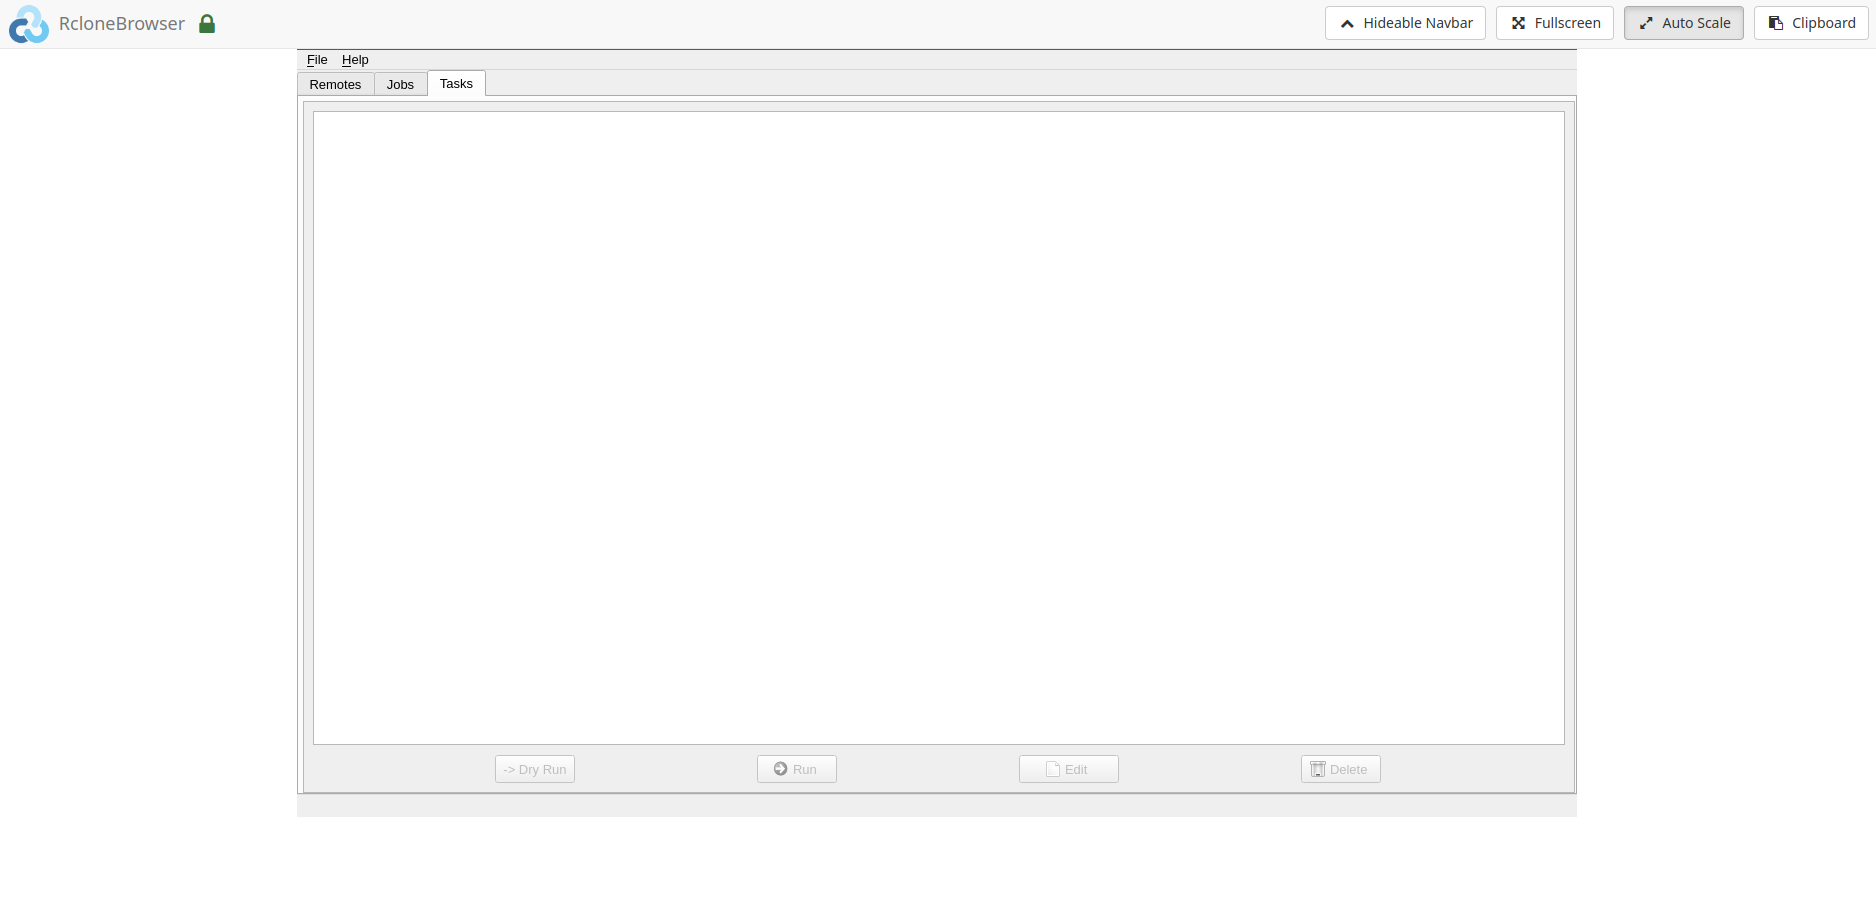
- The initial window would have three tabs
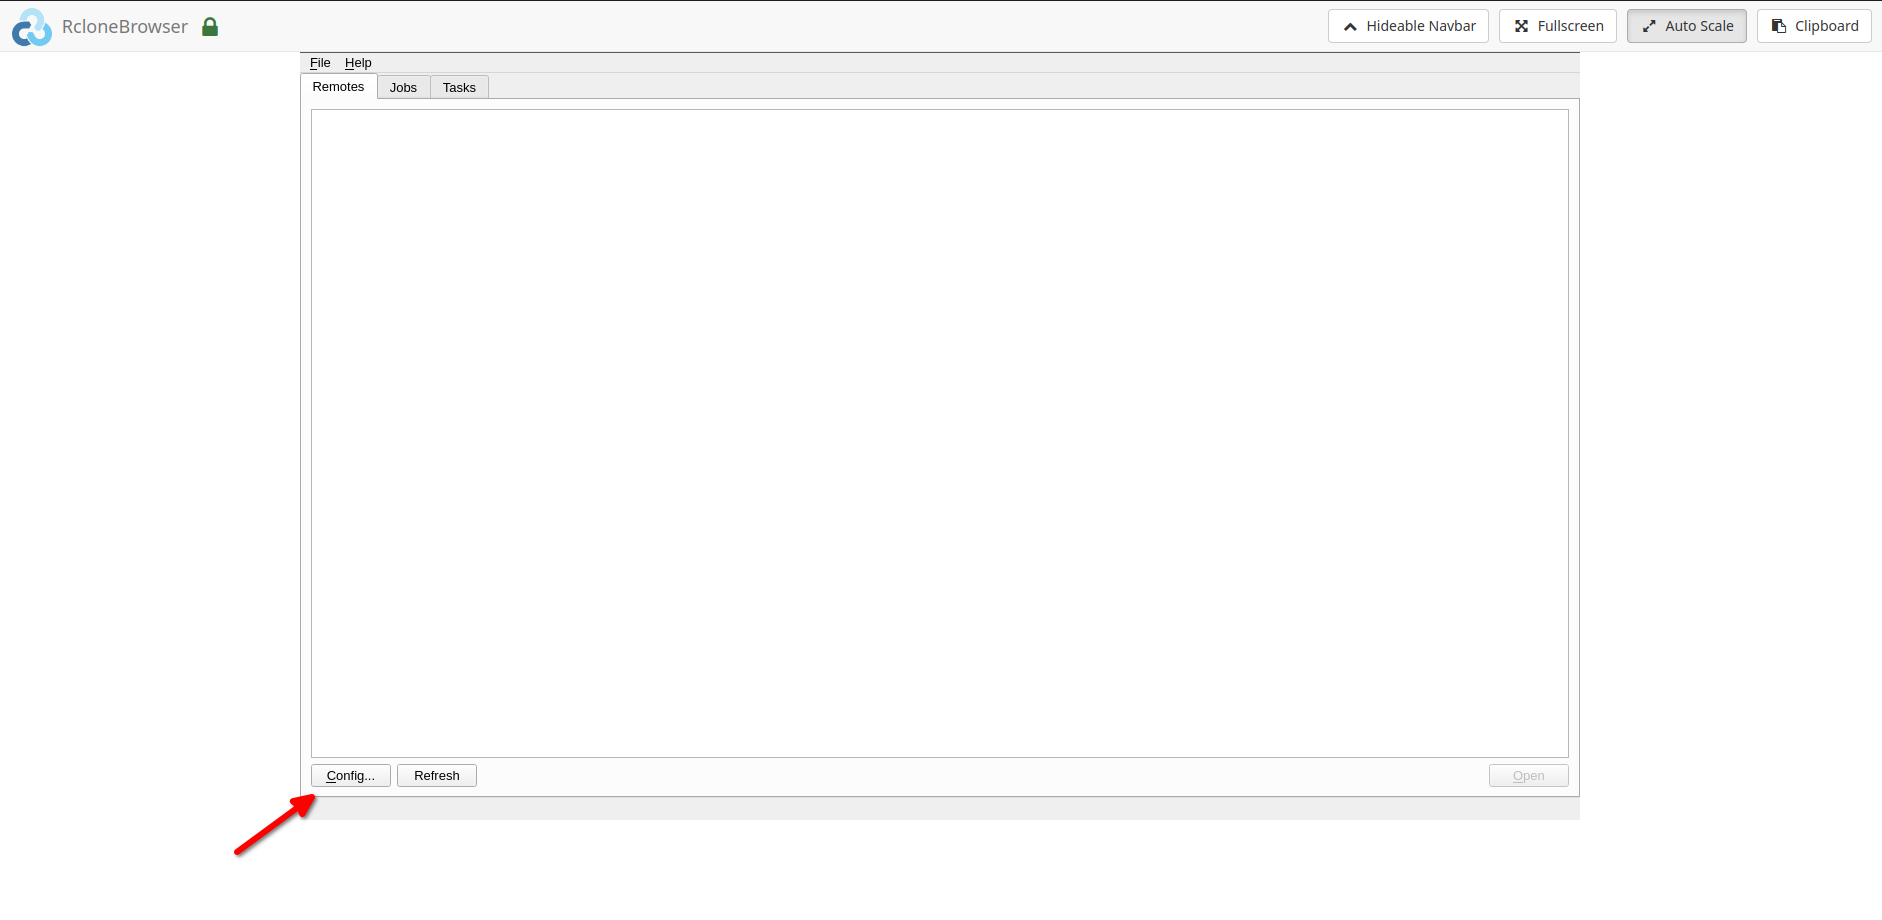
4. Vá para the remotes tab and click on config
5. Follow the onscreen instructions to complete the further steps
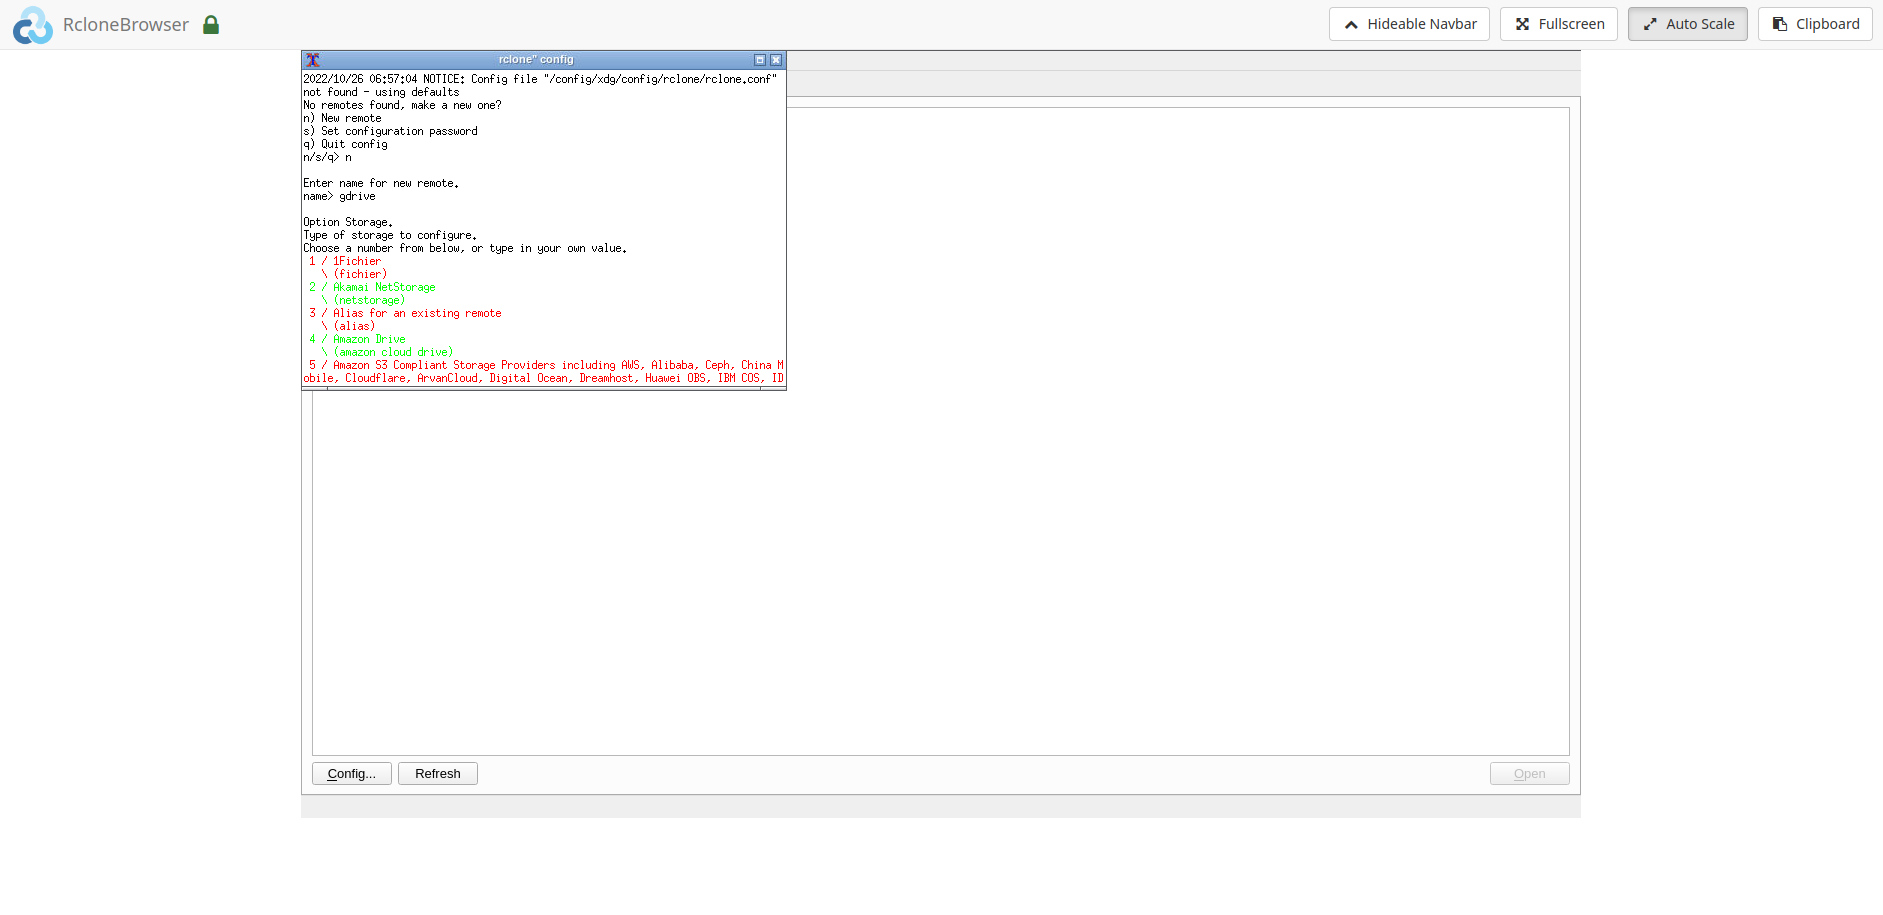
6. The final steps would require o seguintes:
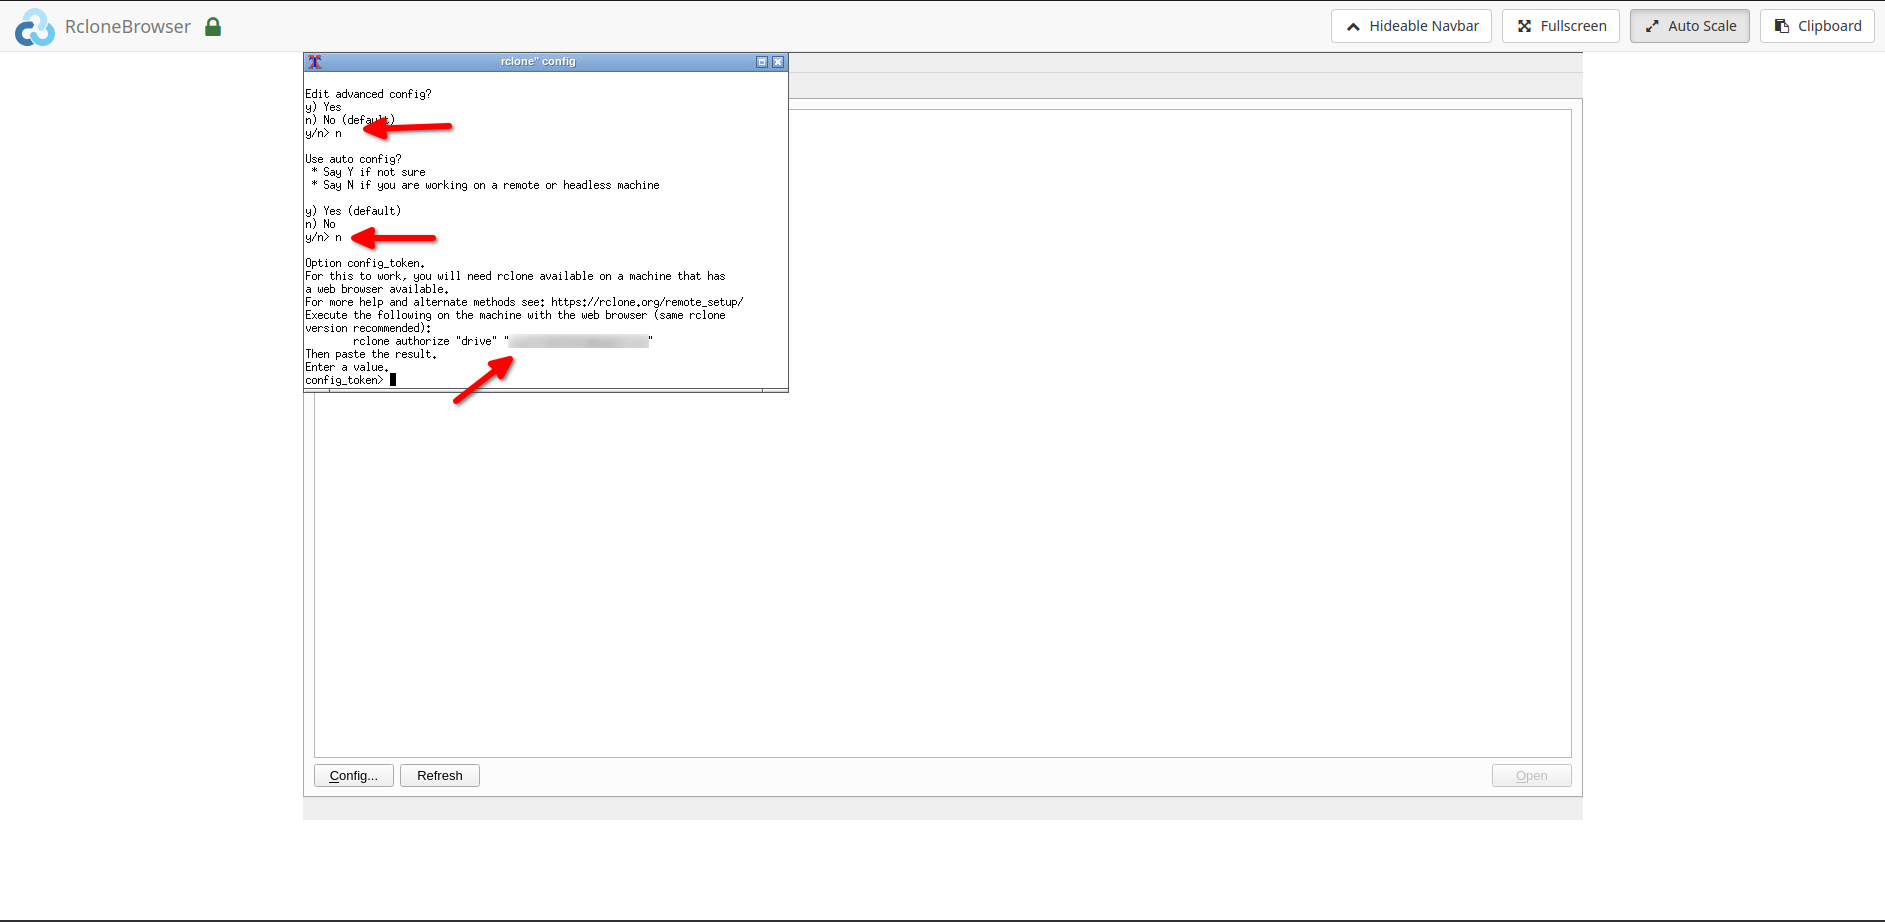
6.1. Please enter ‘n’ when asked for ‘auto config’
6.2. After the above step, please do o seguintes:
6.2.1. Instalar rclone no seu local system.
6.2.2. Copy the rclone command i.e. ‘rclone authorize drive ’
6.2.3. Run the above command no seu local system, you would be directed no seu browser to give rclone permission to acessar your drive.6.2.4. Copy the ‘config token’ do seu command window and paste it into rclonebrowser.
Nota: For copying and pasting please use the ‘clipboard’ option in the rclonebrowser.
- After completing the above step successfully, você pode now acessar your remote. To acessar your remote, click on the open botão by selecting the remote in the rclonebrowser.
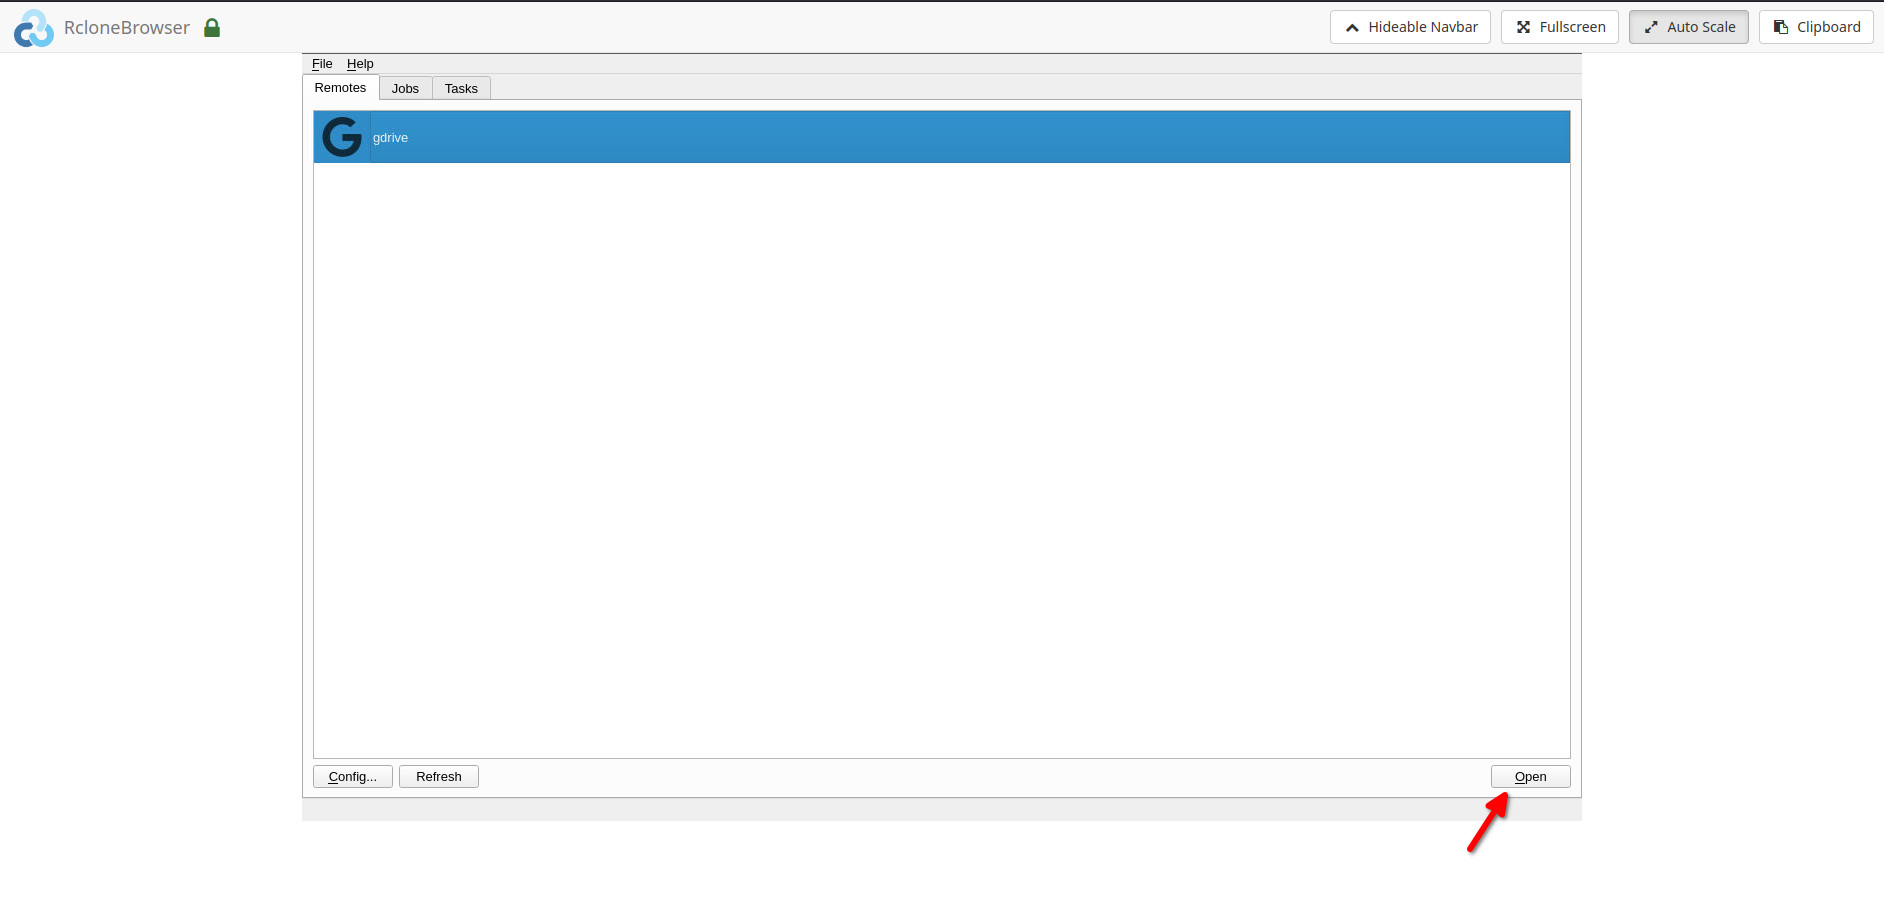
- Your remote would open in a new tab.
Mount option and data sharing:
- Você pode mount your remote under the directory ‘/media’ in rclonebrowser.
- The same can be acessared under the ‘/home//rclone’ directory on sua seedbox.
- Você pode também acessar sua seedbox ‘downloads’ directory in rclonebrowser under the ‘/home//downloads’ directory. Please note that isto é read-only. Writes can be done from sua seedbox if needed.
Guias relacionados
Put this into practice
EvoSeedbox ships with one-click app installs and up to 10 Gbps per box.


