Ombi Руководство по установке
On this page ▾
Ombi is a self-hosted web application that automatically gives your shared Plex or Emby users the ability to request content by themselves! Ombi can be linked to multiple TV Show and Movie DVR tools to create a seamless end-to-end experience for your users.
- First lets install Ombi from our личный кабинет by clicking install.

2. Once its installed, scroll up and click the eye кнопка to launch приложение.
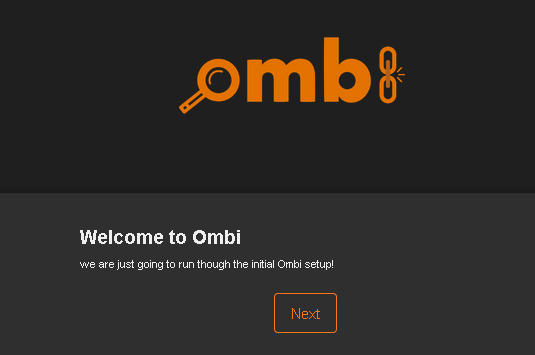
3. Once it is successfully launched, вы будете see this screen.
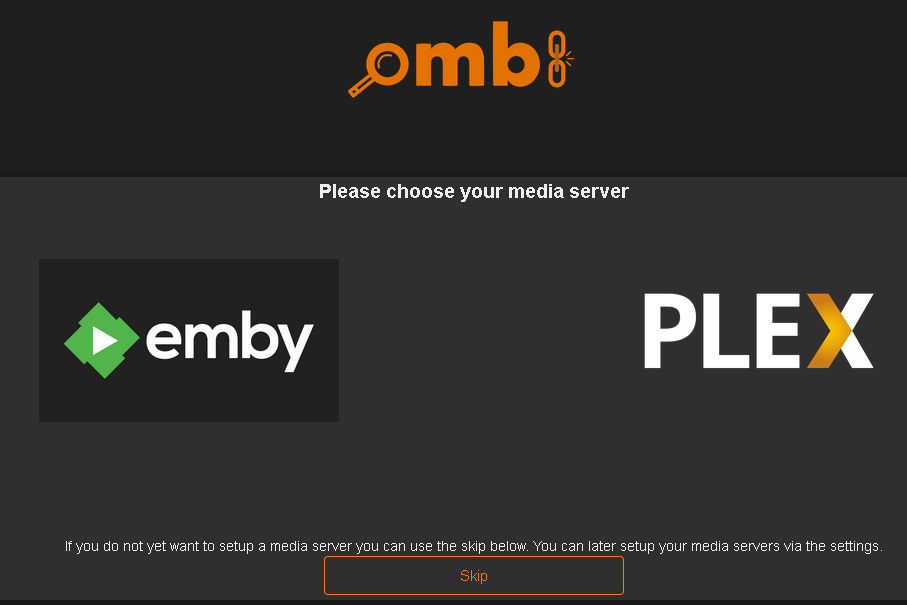
4. Now select your media server. For this guide we are using PLEX.
5. Enter your PLEX имя пользователя and пароль. Or request token, or continue with plex.
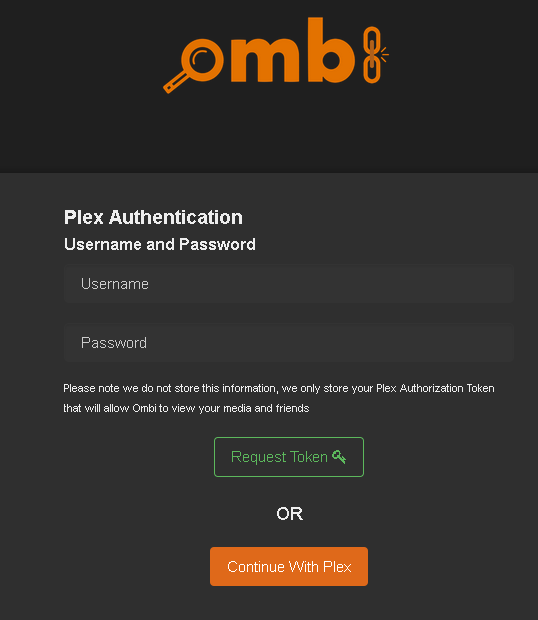
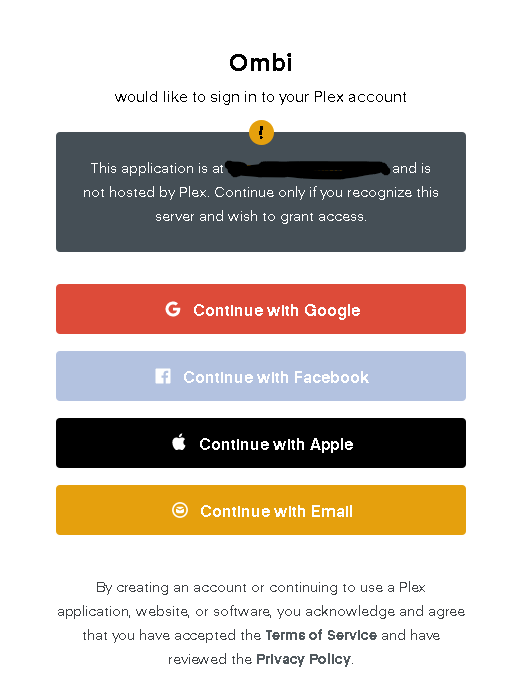
6. I selected to continue with plex and if you do as well, вы будете see this screen.
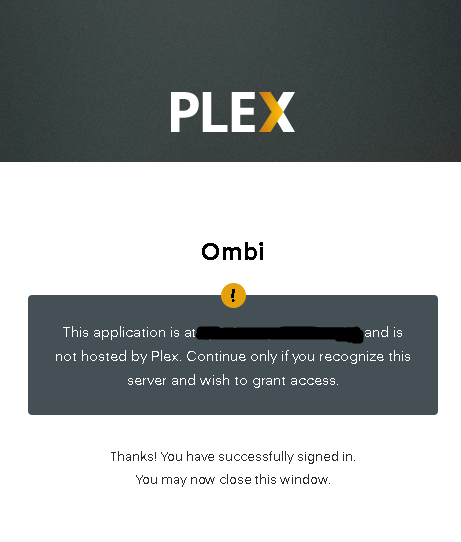
7. Вы будете be notified with this screen after the log in is successful.
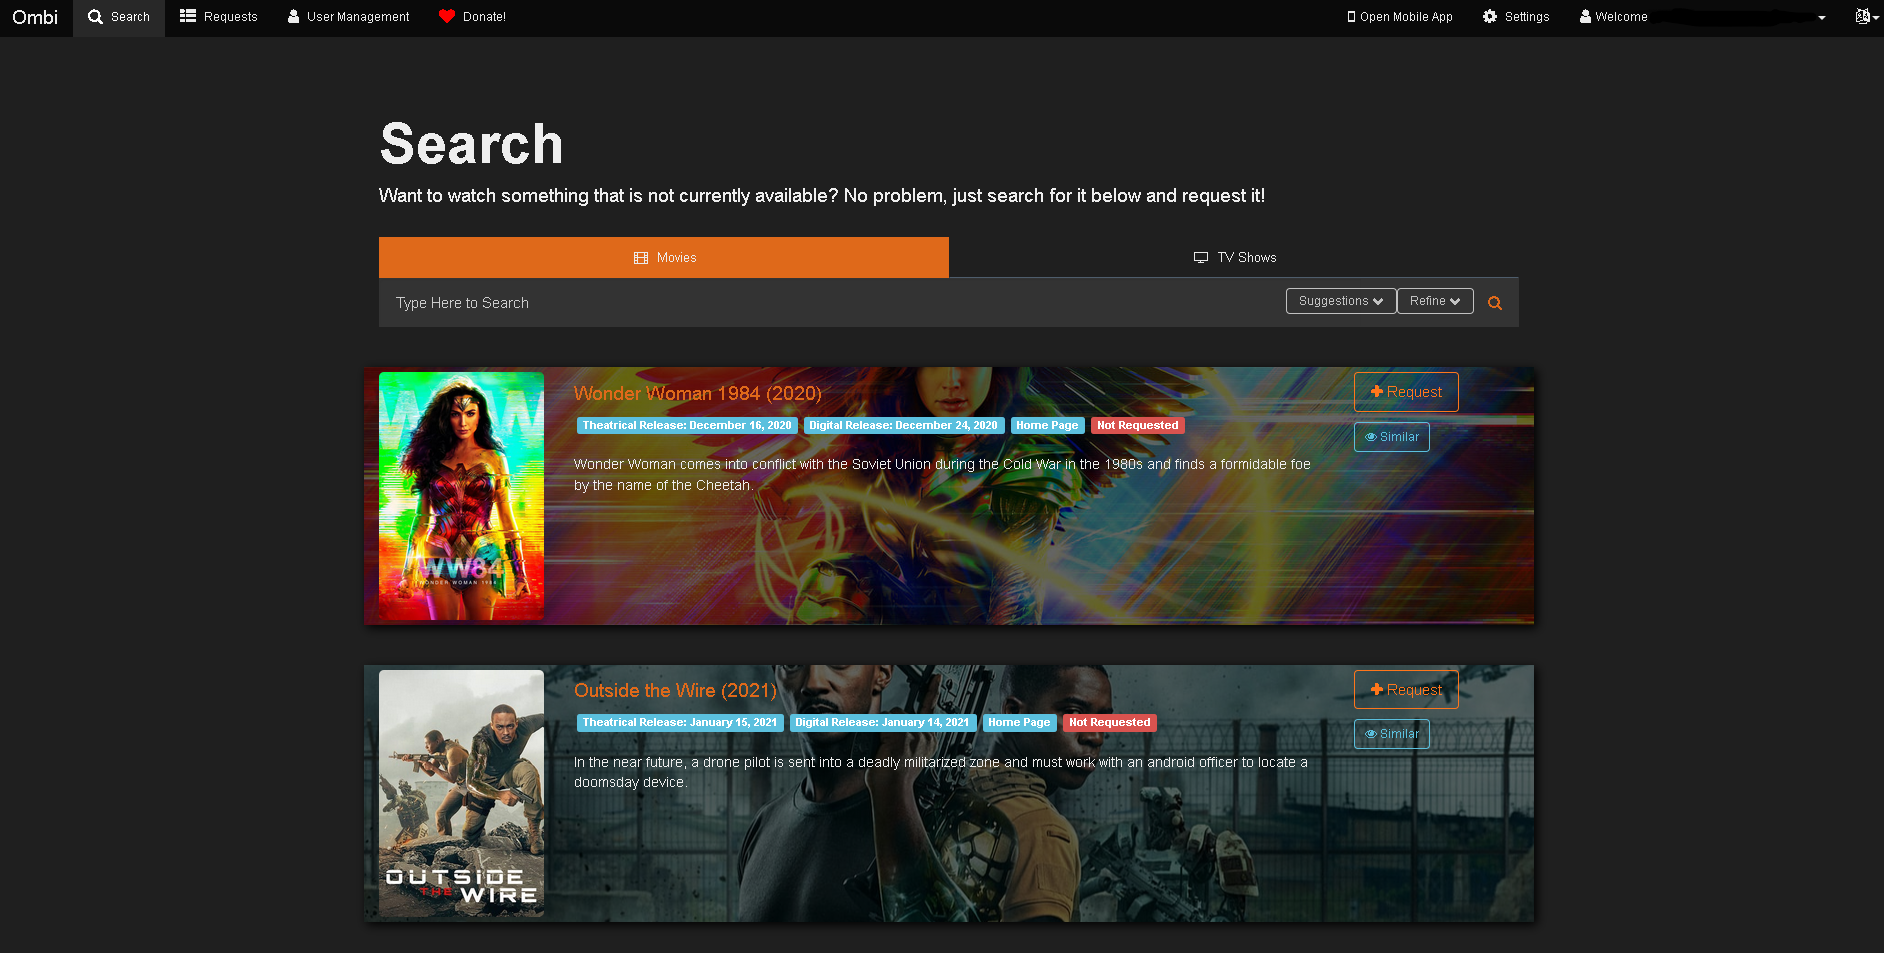
8. Now that we are logged in with our plex account, вы будете see this screen.
We нужно add users so they can request content. At the top left, вы будете see "User management". Click that
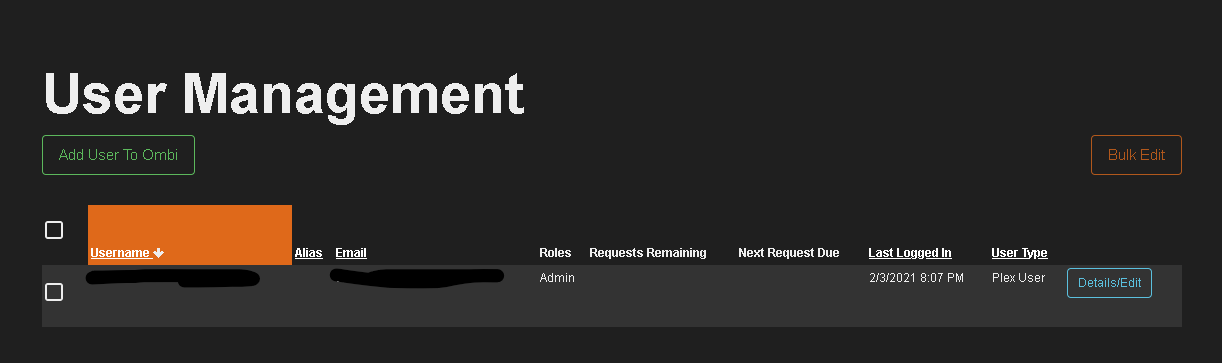
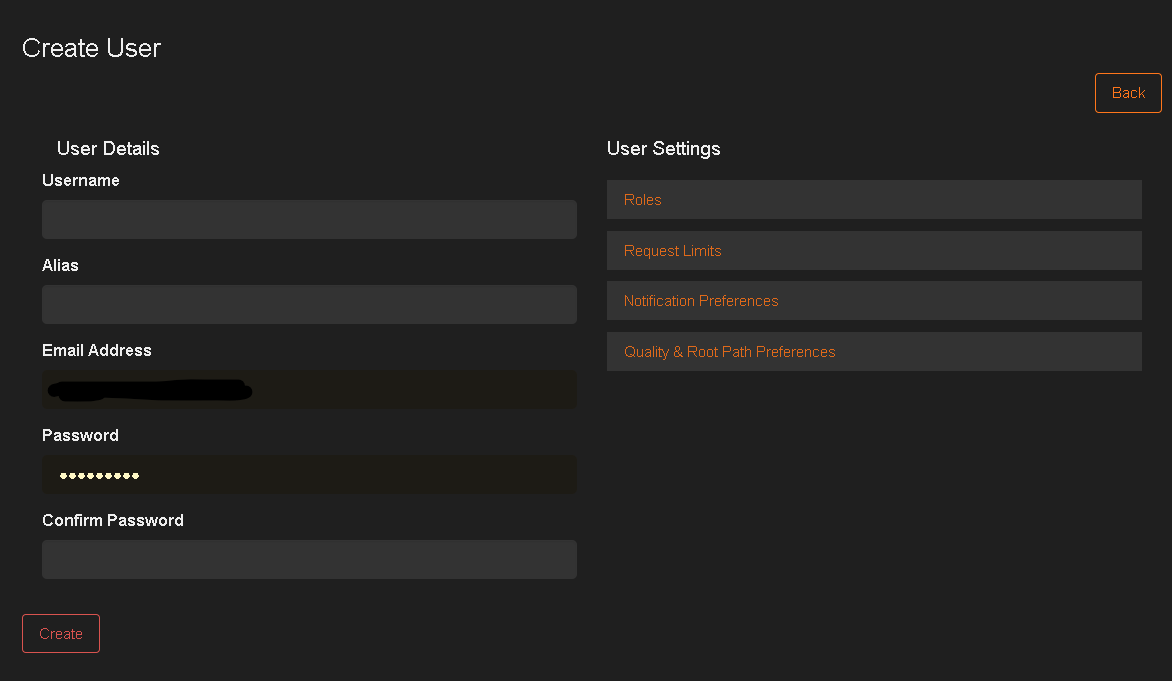
9. Вы будете be greeted by this screen. Click add user to Ombi.
10. Now fill in the requested information.
Примечание: You must assign a role for the account to be created. Выберите the role you best deem fit for that specific user.
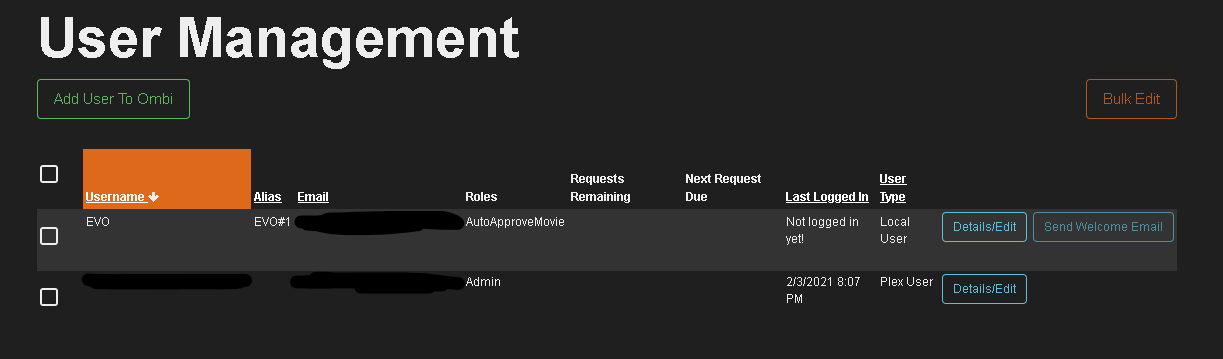
11. After the user has been successfully managed, вы будете see this screen.
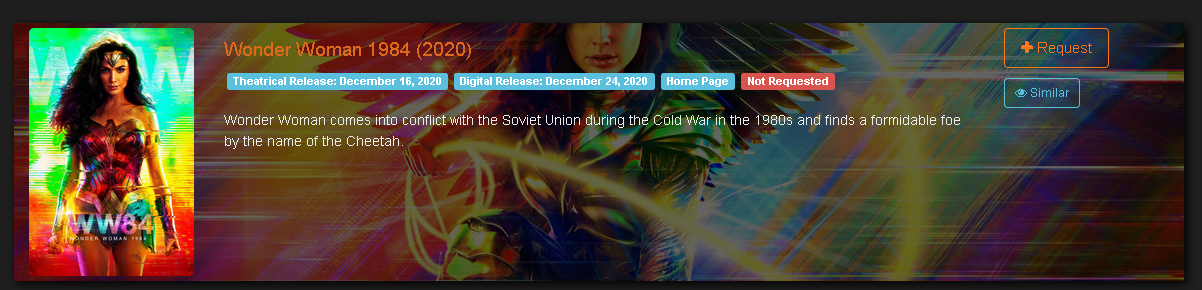
12. To make a request, search or locate a TV show or Movie and click "Request"
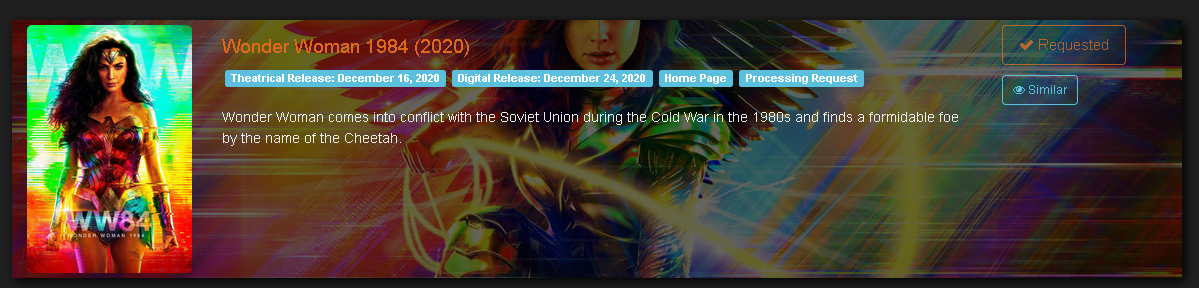
13. Он будет then say "Requested" if it has been successful.
14. The admin will see it in their request que, where you have some options. You access this by selecting "Request".
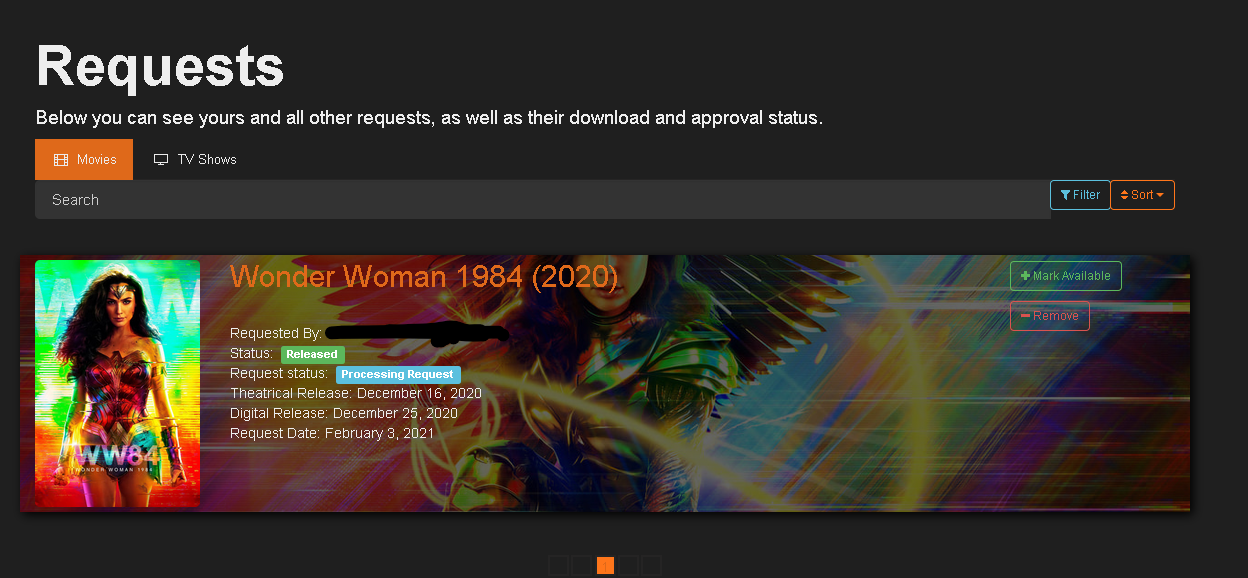
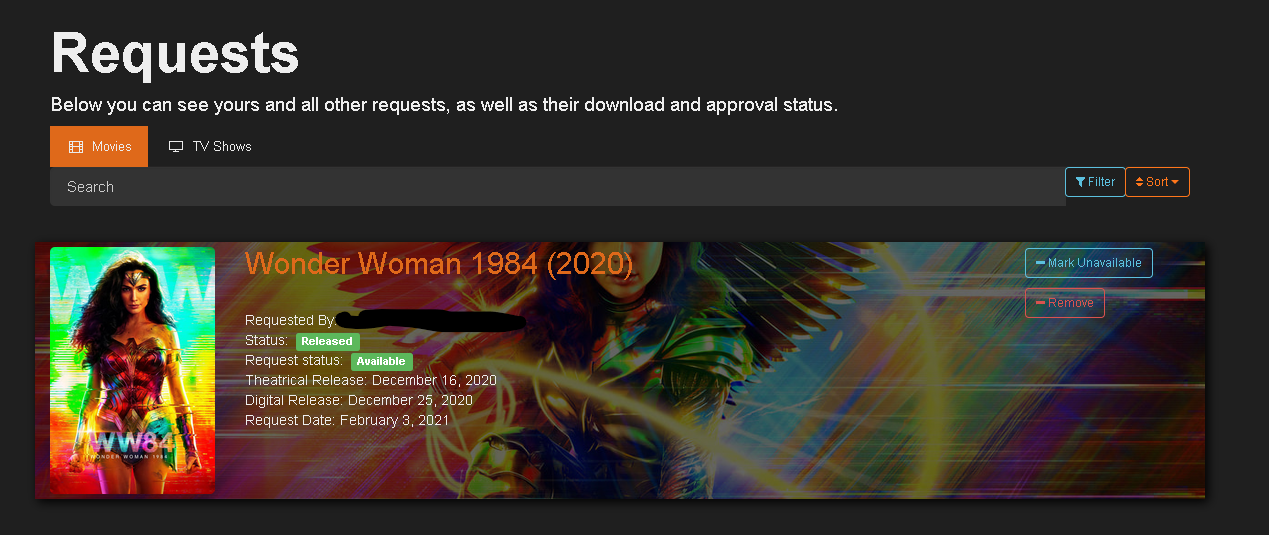
15. Once you mark it as filled, вы будете see the request status changed to "Available".
Put this into practice
EvoSeedbox ships with one-click app installs and up to 10 Gbps per box.


